When I replaced the crank oil seals the clutch had to come off the engine and it was a good moment to replace the original friction plates too as they were getting thin. When I measured them they were all between 2.7 and 2.8 mm (measured across the faces of the friction material). If it's less then 2.9 mm they should be replaced.
So I bought a set of new friction plates Ferodo FCD0254 .
Before you put in the new friction plates it's common practice to soak them for an hour or so in transmission oil. Some say it isn't necessary but it won't cost you anything so better save than sorry.
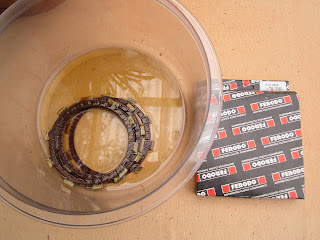 |
| Soaking new friction plates in oil |
It should be an easy job; just take the old plates out and replace them with the new ones. However I ran into a couple of "problems".
First of all the order in which the friction plates and plain metal plates should be fitted. I was pretty sure that the first plate that goes into the clutch boss was a friction plate, however according to the Haynes Owner Workshop Manual and even the original parts manual with exploded views, you have to start with a plain metal clutch plate... Well, maybe the previous owner did it the wrong way around.. So I started putting them back according to the manual instructions I know the new friction plates are a bit thicker (3.2 mm) but even with a lot of pressure the last friction plate tangs wouldn't go all the way into the clutch boss slots. It didn't felt right..
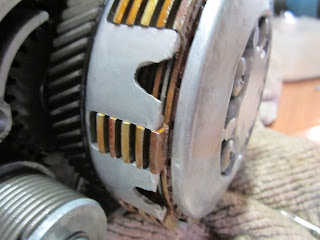 |
| Plain and friction plates placed in wrong order |
However if I started with a friction plate it was all good. Hmmm... I started checking the pics I made before disassembling the engine; The last/top plate before the cover/pressure plate was definitely a steel plain one. Then I started searching the net for comparising pics... The ones I found were all with the plain steel clutch plate being the first clutch plate under the cover which is slightly smaller than a plain clutch plate. When I checked the official Yamaha Service Manual for the Yamaha RD125B, which engine is identical to the Yamaha RD125A it was obvious there's an error in the exploded view and instructions; a picture in this manual shows the first plate below the cover being a plain metal one, see pics from this manual below:
 |
| Original Yamaha Service Manual RD125B / RD200B |
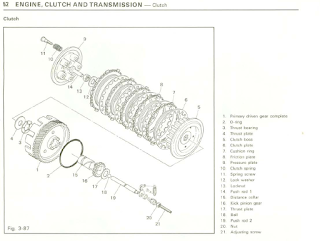 |
| Exploded view Clutch assembly Yamaha RD125 |
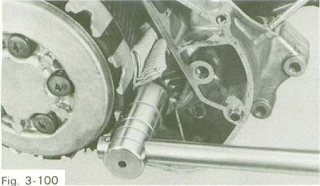 |
| Clutch plates order - picture Yamaha Service Manual |
Second problem was the tangs of the new friction plates being just a fraction to wide for the clutch boss slots. They would fit if I used pressure on each tang at a time but I don't think this will result in a smooth operating clutch. When the plates can't move freely you'll get clutch release problems like dragging.
The old and new friction plates have the same size and shape, except for the width of the tangs. The tangs of the new plates were a fraction wider then the original ones. If the new ones are too wide or the original ones just were set 2/10 mm... I'm not sure but suspect the last.
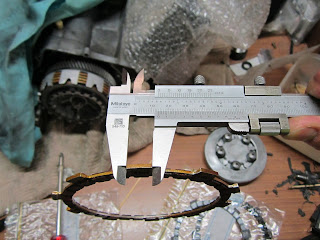 |
| Measuring the tangs of the new friction plates |
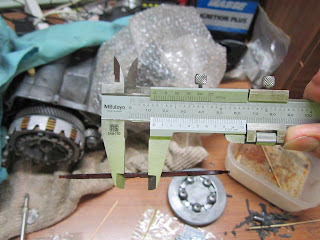 |
| Measuring the tangs of the original friction plates |
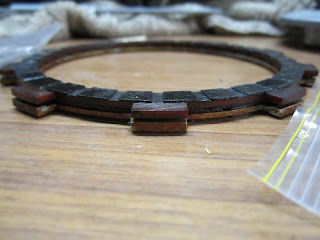 |
| Comparing the original (top) and new friction plates - Yamaha RD125A |
A fellow member of the
aircooledrd club pointed me in the right direction: clutch chatter may have caused the tangs of the friction plates to "dent" the sides of the clutch basket slots. The notches will trap the friction plates when freed and cause problems. So I checked the basket and it was obvious the slot sides were notched and needed treatment. I used 80-180-400 grit sand paper.
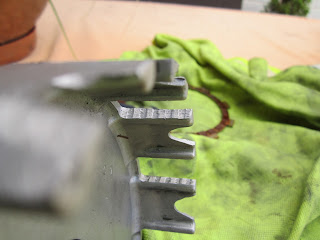 |
| Notched slot sides Clutch Basket Yamaha RD125 |
 |
| slot side after some sanding |
When putting back the plain metal clutch plates, make sure the sharp edge faces outside and install them so that their cutaways don't overlap each other.
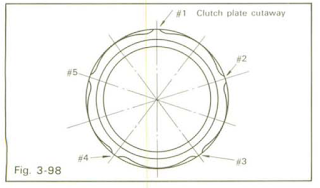 |
| Position plain steel clutch plates cutaways - Yamaha RD125 |
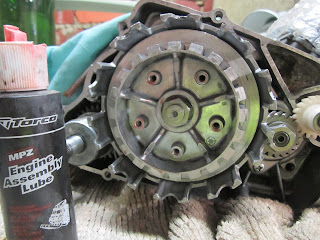 |
| Using Engine Assembly lube when fitting the clutch assembly |
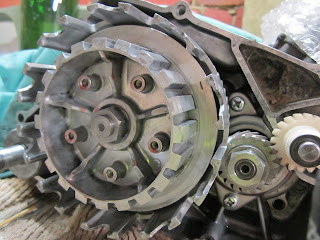 |
| Clutch assembly Yamaha RD125A 1974 |
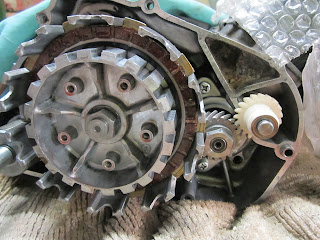 |
| Clutch assembly Yamaha RD125A 1974 - start with a friction plate |
 |
| Looks better than before |
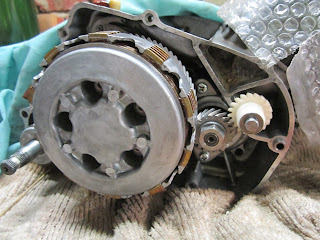 |
| Clutch assembly with clutch plates - compare this with the photo in the original Yamaha Manual |
The clutch spring length should be between 30.5 and 31.5 mm, so 31 mm is OK.
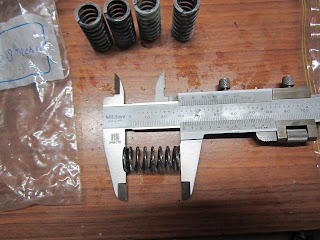 |
| Measuring the clutch spring length |


